
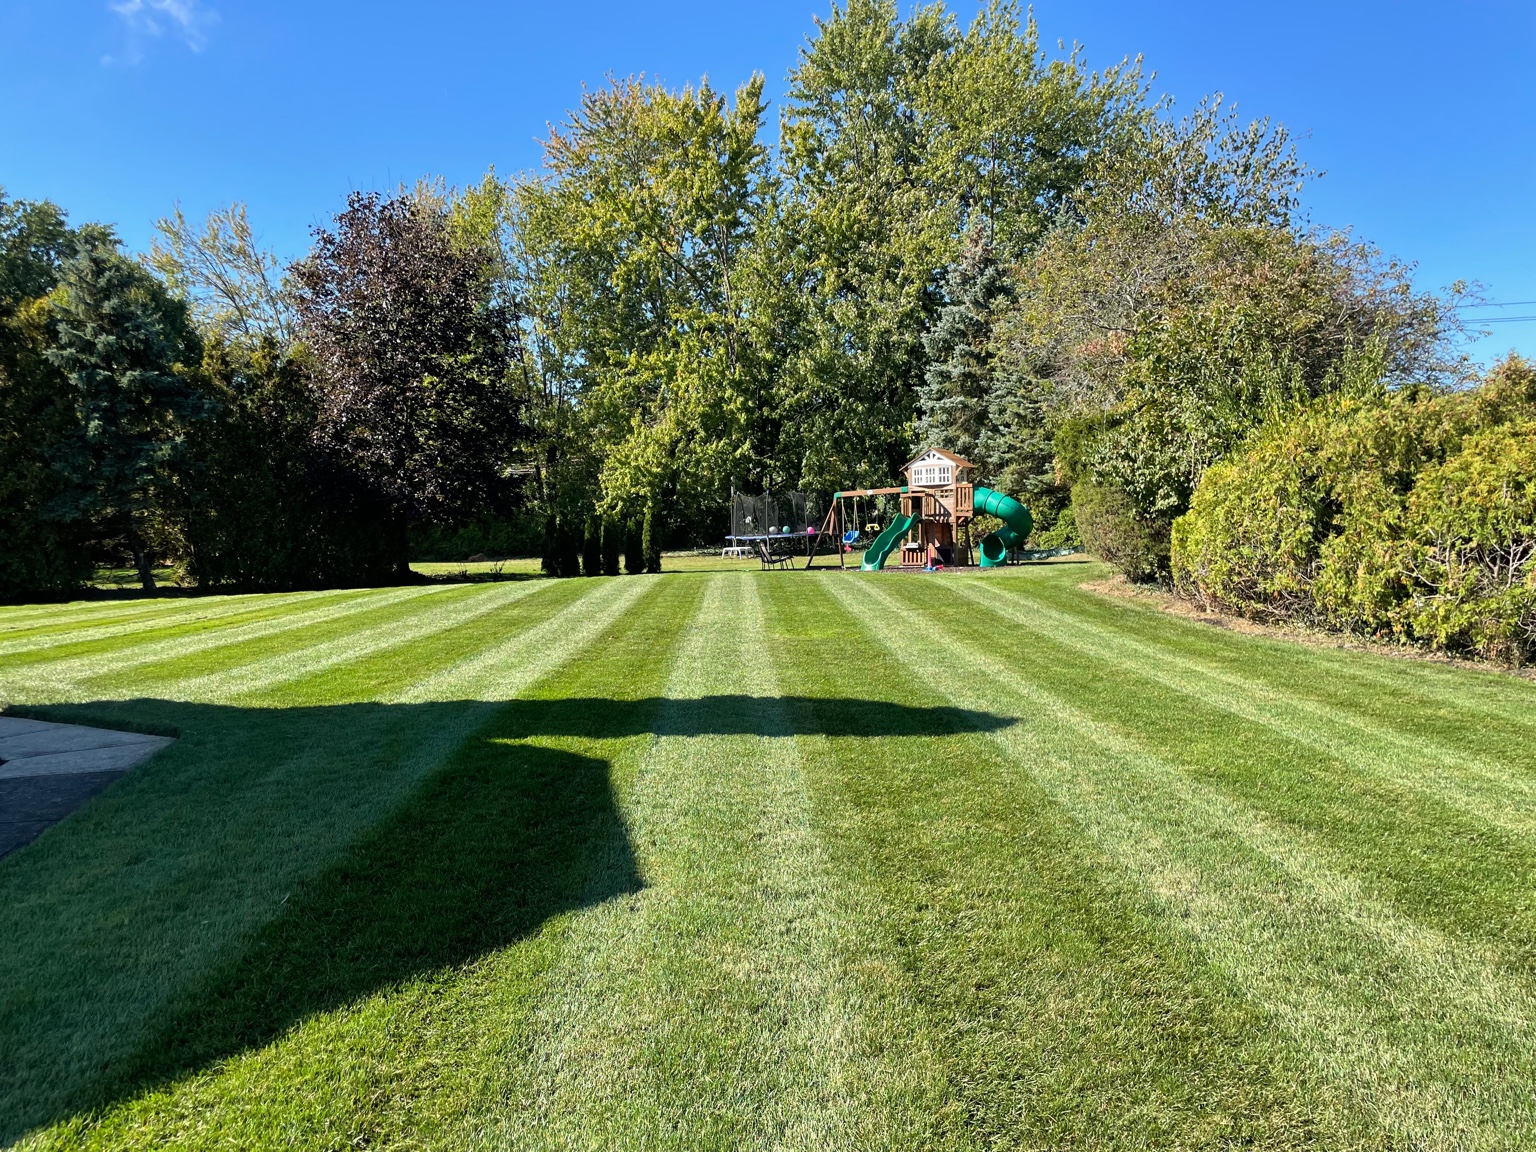
There’s something oddly satisfying about seeing perfect stripes laid across a lawn. It’s like hitting a clean drive right down the middle or getting that fresh fade at the barbershop. You know it when you see it, sharp, even, clean.
The truth is, those bright stripes don’t happen by accident. It’s not some fancy fertilizer or secret pro-only lawn mowing trick. It’s just the right setup, a little patience, and knowing how to bend that grass in your favor.
Once you figure it out, it’s kind of addictive. You start chasing that next cut, trying to make it pop even more. The kind of lawn that makes people slow down when they drive by. And honestly, there’s no better feeling than standing there afterward, mower parked, looking at your handiwork thinking… yeah, that’s mine.
What Causes Lawn Stripes?
So here’s what’s really going on when you see those perfect bright and dark stripes across a lawn. It’s not paint, it’s not magic, and it’s definitely not some pro-only trick. It’s just light and direction.
When your mower rolls over the grass, it bends the blades one way on the first pass and the opposite way on the next. The blades leaning toward you look darker because you’re seeing more of their shadowed sides. The ones leaning away look brighter because they’re catching the sun. That’s it.
You’re not hurting the grass at all. You’re just changing how it reflects light. The effect pops most on cool-season grasses like fescue and rye, those blades stay tall and flexible, which makes the lines look bolder and cleaner.
Once you see it that way, it’s kind of wild. You realize your lawn is basically a big green canvas, and your mower’s the brush.
What You Will Need For Bright Stripes
To pull off those bright, clean stripes, you don’t need a fancy setup. But you do need the right tools working in your favor.
Start with your mower. Some machines naturally stripe better than others. The heavier ones tend to press the grass down more evenly, which makes the lines pop harder. If yours doesn’t have much weight or a rear roller, you can add a striping kit or even make one yourself. A simple homemade roller filled with sand or water can make a huge difference in how deep those lines show up.
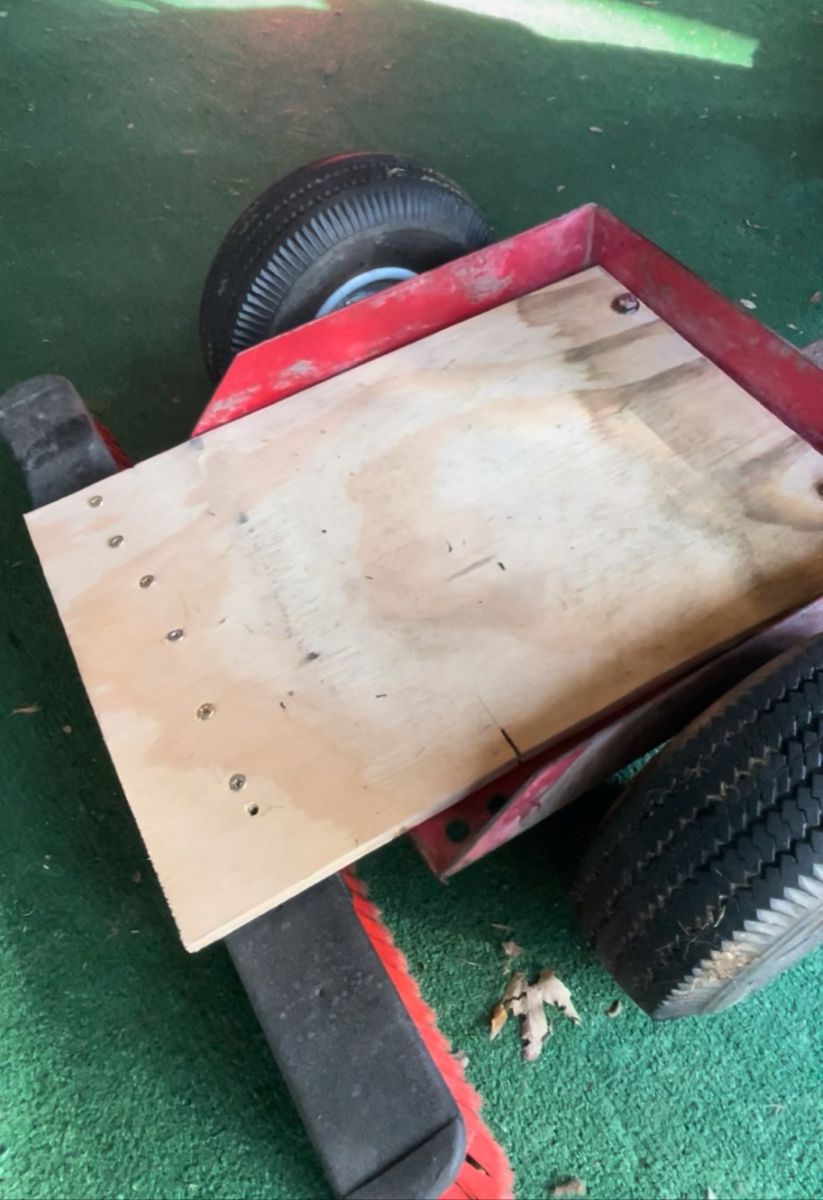
See the image below for the striping kit I currently use. It’s just a broom head attached to the velke wich pushes the grass down as I go over it. It took me about 10 minutes to make from stuff I already had in my garage and it works really well. Better than you would expect. Here is a video of it in use.
Keep your mower blades razor sharp. Dull blades tear the grass, and torn grass looks fuzzy instead of clean and glossy. Also, check your cutting height. Three to four inches is the sweet spot; it lets the grass bend without stressing it out and reflects the light better.
The Mowing Technique
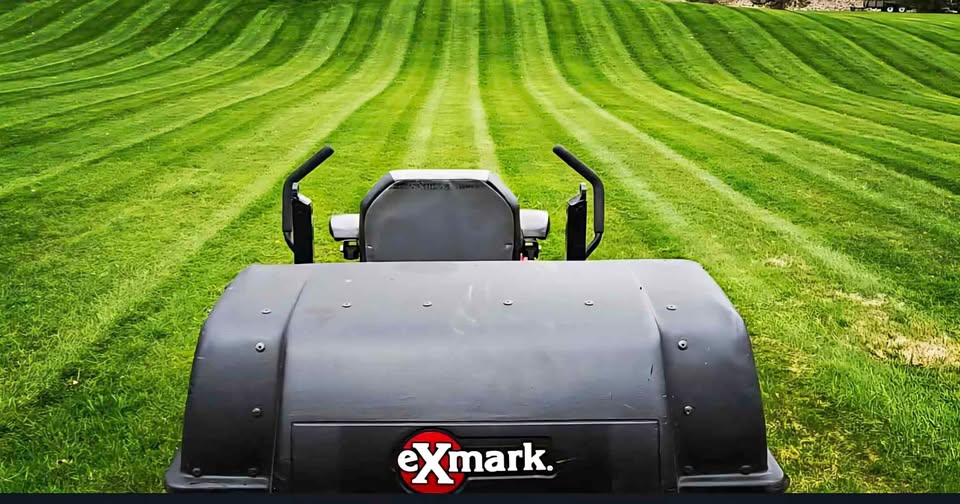
Once your mower’s ready, this is where the magic happens. The stripes start with that first pass, so make it count.
Pick a straight line to follow, something solid like your driveway or the fence line. That first stripe becomes your guide for every pass after it. Keep your pace steady and your wheels straight.
When you hit the end, ease into the turn. Don’t whip it around or you’ll scuff the grass. Swing wide, loop back, and line up your next pass just slightly overlapping the first. Every other stripe should go in the opposite direction to create that light and dark effect that makes lawns look sharp.
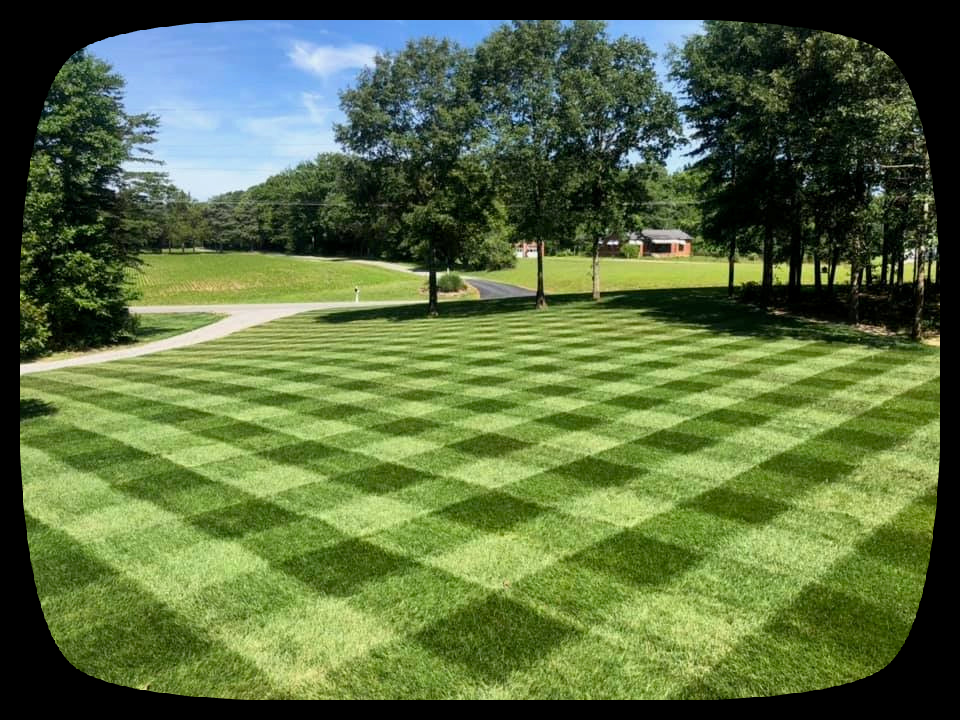
Once you’ve nailed straight lines, you can get creative. Checkerboard, diagonal, diamond, even a circular pattern if you’re feeling bold. It’s all about how you bend the grass and catch the light.
Pro Tips for Brighter Stripes
Mow when the grass is dry. Wet grass clumps, bends unevenly, and dulls your blades fast. Sharp blades are non-negotiable; clean cuts mean cleaner reflections.
When you finish mowing, go over your stripes one more time with a roller or a light second pass. It deepens the bend and brings that high-contrast shine.
And don’t skip the basics. A thick, healthy lawn stripes better than anything. Keep it watered, fertilized, and growing strong. When the grass stands tall, your lines stay crisp.
Maintaining the Look
Change directions every week. It helps the grass stand straighter and keeps the soil from getting compacted. You’ll also avoid permanent ruts and wear marks.
Every now and then, mix up your pattern. It keeps the look fresh and helps the lawn stay healthy. A consistent mowing routine and steady care make the stripes last longer and look more defined over time.
Common Mistakes to Avoid
- Crooked lines ruin everything. Take your time and keep your wheels straight.
- Dull blades tear the grass instead of cutting it, which kills the shine.
- Cutting too short weakens the grass and flattens the contrast.
- And don’t overlap too much, it makes your pattern uneven and muddy.
Conclusion
Bright stripes aren’t luck. They’re the result of a good setup, sharp blades, and a little patience. Once you get the hang of it, mowing stops feeling like a chore and starts feeling like a craft.
So take your time. Enjoy it. Step back when you’re done and look at what you built. And if those stripes come out clean, snap a photo and tag us. We’ll be right there cheering you on.